Sunday, July 31, 2011

Saturday Social Features

This weekend FLEW by!!  I swear I feel like every week it is Friday night, I blink, and then the weekend is over already!!

There were once again, some great projects linked up this week!!  I had a lot of fun reading all of them!  Thank you to everyone who linked up - you are all amazing, and I am honored that you come to party with me every weekend!!

The first feature I would like to share is this Coffee Grinder from The Savvy Shanty.  Ginger found this baby at Goodwill.  Not only would I have mistakenly passed this right by without a second look, but never would have thought to actually PAINT it! LOVE!!!


Vivienne from The V Spot made this awesome Newspaper Sailboat - which looks amazing!  I think the best part is that she made it all using only what she had in her house!  So super cute!


Finally,  this PVC Framed Canopy Bed is ingenious!!  Brandy from Gluesticks enlisted the help of her hubby, who built the frame for this awesome bed - fit for a princess!!


Thanks again for linking up!  If you were featured, feel free to grab a button from my sidebar!  
Have a great week!


Friday, July 29, 2011

Saturday Social - Week 10

Hello Hello!!  I hope you had a great week, and have been working on lots of fun things to share!!  Welcome to Saturday Social!!

Here's how it works:

Link to a Specific Post - not just your blog homepage (we want to be able to find your creation!). Share any handmade craft, home decor, or recipe you would like (just no Etsy shops or items for sale please).

Grab a button below, or have a link back to my blog…so everyone can join in the party!

Be social and visit some of your Linky Neighbors - mingling makes for a better party!!


The party ends Sunday at noon, and I will post my favorites on Sunday night!  Happy Linking!


Friday I'm In Love - Week 10!!

Hey Everyone!  It's been a crazy week - actually it's been a crazy past couple of weeks!!  I have not had an ounce of time to craft or blog since Addison's party so I apologize for being MIA lately. 

One thing I want to mention is that I am creeping up on 100 followers - only 11 more to go!!  I have been planning to do a giveaway when I reach 100, so please send any love my way that you can!!  I can't wait to celebrate with you all!!

Today I want to share my Friday I'm In Love Favorites with you.  I am not too busy to give some credit to those bloggers out there who have been hard at work and making some incredible things!!

When I saw the tutorial for these AMAZING Leather Clutches at WobiSobi, I swooned!!  I love leather, and Anne never ceases to amaze me!  No matter what the season, I think these would make a beautiful addition to any ensemble! 


Maggie at Midwestern Sewing Girl shared her tutorial for these super cute Photo Tiles!  I LOVE these!!  I thought these would also be great to make as drink coasters - I think I may have to add that to my project list!!  How cute are these??!!


Laura Beth from A Step In The Journey totally transformed a pair of end tables, and this is one of them.  You have to hop over to her blog to see the before and after photos - it is seriously a HUGE difference!  I love the way this came out!!


I have never seen trim work done quite so beautifully as this from This Home Of Ours!  This is such a creative way to add "WOW" to a bedroom.  This is such an inspiration!!!


I totally fell in love with this Acid Wash Mirror from PB&J Stories.  Pamela gives a full tutorial in her post - I never would have thought this would be so easy!!  Just make sure to read her warnings about working with acid.  LOVE this!!


Thanks for checking out my Friday Favorites!!  Don't forget to come back tonight to link up for Saturday Social!!

xoxo

Tuesday, July 26, 2011

Movie Star Party

Addison's party was a lot of fun, but that's not to say there weren't a few hiccups.  My fault entirely. I sent the invitations out, planning on showing the movie Rango.  That is, until my friend informed me a few days before that the movie had some adult language and quite a bit of violence.  Nice.  So - at the last minute, we had to change the movie.  That would have been all fine and good, except that I planned the party around a two hour movie, and the new movie was just over an hour.  Needless to say - we were done with the movie, cake and presents...with 50 minutes remaining before the parents came to pick up their kids.  Yikes!  We improvised, and played some games, and all in all - I think the kids had a great time!

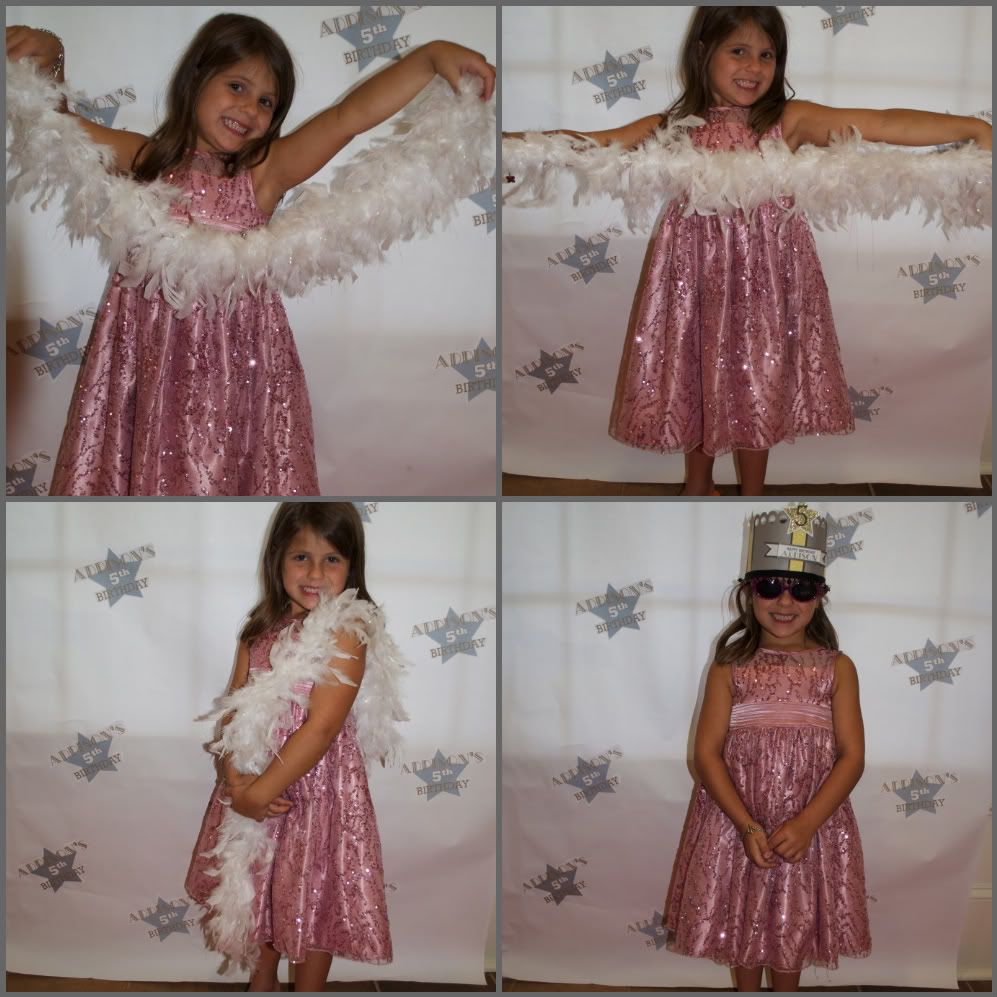
When all of the guests arrived, I had set up a red carpet and logo backdrop for them to pose with Addison (I am planning to use the photos for the thank you cards). 

Photobucket

We rented out the theater in my clubhouse, and I set up a table in the room with popcorn boxes for the kiddos.

The kids watched the movie, but I admit, we had a few adults standing guard in the hallway to corral them into the bathroom, and when they couldn't sit still....jeez.

Outside, I set up the table for the cupcakes and refreshments. I ordered plain white cupcakes from Publix, and decorated them with silver and gold metallic star sprinkles, and some cupcake toppers that I made.


 The cupcakes were a hit - Addie obviously enjoyed them!!


 For the favors, I bought some plastic popcorn boxes from the Dollar Tree and filled them with fruit snacks, a bag of microwave popcorn, and a movie star trophy.  I finished them off with a custom label for the occasion.


 It was a hot day, but a great day.  We had a lot of fun, and for the most part, it went off without a hitch.  Happy 5th Birthday Sweet Girl!!


Linking Up To:

Tip 
Junkie handmade projects


Photobucket

The Shabby Nest


Sunday, July 24, 2011

Saturday Social Features

Why does the weekend have to go so fast??  Wasn't it just Friday night?  We had Addie's party yesterday - she had a blast!!  I still have to upload all of the pictures, so hopefully I can share everything with you tomorrow!  

I was so excited for the projects that were linked up this week.  There were some seriously good recipes AND creative crafting going on!  I hope everyone comes back next week - it's nice to see some new faces here!  I love meeting new bloggers and finding great new projects to admire!!

I loved this beachy vignette that Carolyn at Desire Empire dedicated to her followers.  Isn't it beautiful??  Something about a blue and white color combo gets me every time!!


These Antipasto Skewers from So Much to Say look soooo good!!  I just loved this idea - and these are now pinned to my "Good Food!!!" collection.  The Italian in me was lusting over these!! Thanks Colleen!!


Finally - Anna at Blissful Whimsy has done it again!   This decoupaged bedside table is so adorable!!  She used pages from old books, and really added some whimsy with some Winnie the Pooh pictures.  So cute!!


If you were featured - feel free to grab a button from my sidebar.  Thanks again for linking up!  Can't wait till next Saturday!!

Friday, July 22, 2011

Saturday Social Week 9

Hey Everyone - it's that time again!!  There were so many great projects linked up last week, I can't wait to see what you come up with now!!  So, without further ado...

Here's how it works:

Link to a Specific Post - not just your blog homepage (we want to be able to find your creation!). Share any handmade craft, home decor, or recipe you would like (just no Etsy shops or items for sale please).

Grab a button below, or have a link back to my blog…so everyone can join in the party!

Be social and visit some of your Linky Neighbors - mingling makes for a better party!!


I'll be back on Sunday to share my favorites!  The party ends at noon on Sunday - make sure you tell your friends - the more, the merrier!!

Friday I'm In Love

Wow - this has been a crazy week for me!!  Work has been super insane, AND I have been preparing for Addison's birthday party tomorrow.  Whew - I'm exhausted!!  But, it's Friday, so that's reason to celebrate with some much needed eye candy from the blogosphere!!

First I found Michelle's Seaside Memento Display over at Sweet Something design.  I love the wire frame - where can I get one of those??  She also shared a tutorial on how she made the sand dollar and starfish display - what great ideas!  Looks like something right out of Pottery Barn!!


Jaime Lyn at Crafty, Scrappy, Happy made this amazing headboard and foot board out of old doors (her husband helped a little).  The white is so crisp - and I love the bedding too!!  They even built the side panels.  I am sure their guests will love sleeping here!!


I am a sucker for burlap - I just love it to pieces.  When I came across Laurie's wreath this week at Gallamore West, I fell in love all over again.  The wreath frame is beautiful itself, but the shells, splash of blue and cute paper bunting takes the cake.  This is pinned and waiting for me to make!! 


I am not really sure how, but for some reason Ashley aka Little Miss Momma has just found her way into my life (aka blog feed)!  Her blog is amazing, and I was literally stopped in my tracks when I saw her Whimsical Craft Room this week!  These colors are so bright, fun and inspiring!! 


Finally - don't you just LOVE this wool laptop sleeve??  Jaime at That's My Letter made this using a sports coat!!  I wish I had a laptop so I could have a reason to make this.  Although - a sleeve like this would work for hubby too!  Love the texture, the color - everything!!
 

 If you were featured, feel free to grab a button from my side bar.  I can't wait to share all of the things I have been working on for Addison's party - I think it's going to turn out really cute!

Don't forget to come back and link up tonight for Saturday Social!!


Wednesday, July 20, 2011

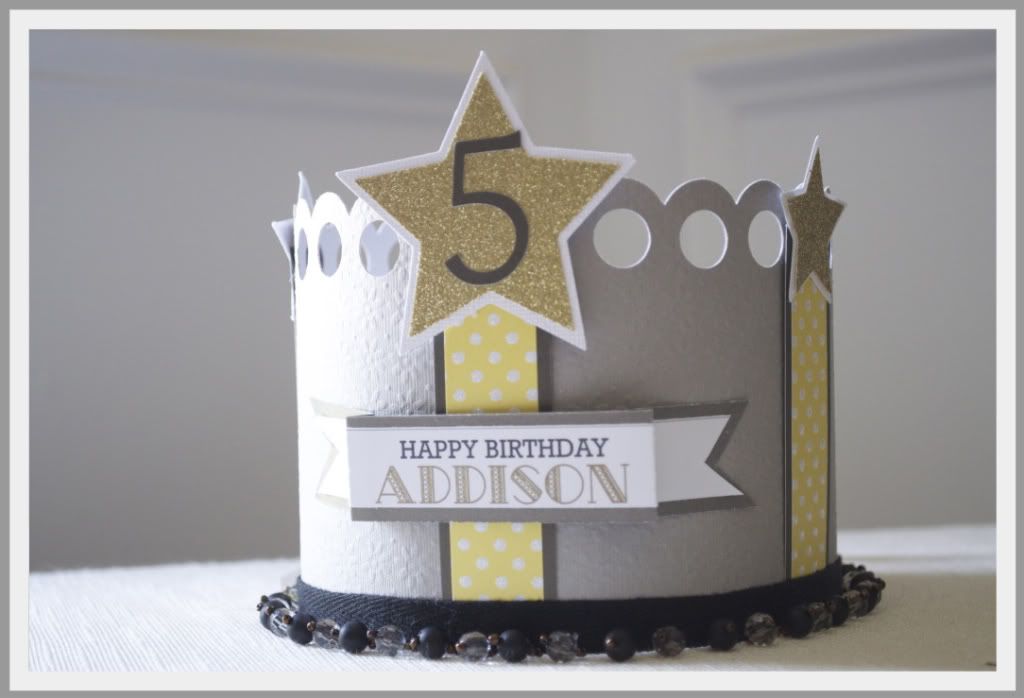
Birthday Crown Tutorial

Hi Everyone! Last week, I guest blogged at The CSI Project.  For those of you who may have missed it,  I wanted to share my tutorial with you on how to make a fun paper birthday crown for kids!

Final 2

My daughter Addison's 5th birthday was yesterday, but her party is this weekend!  This year we have decided on a movie themed party - full of Hollywood Glamour!  This crown can be personalized for any theme - just choose the paper you want to use!

Photobucket

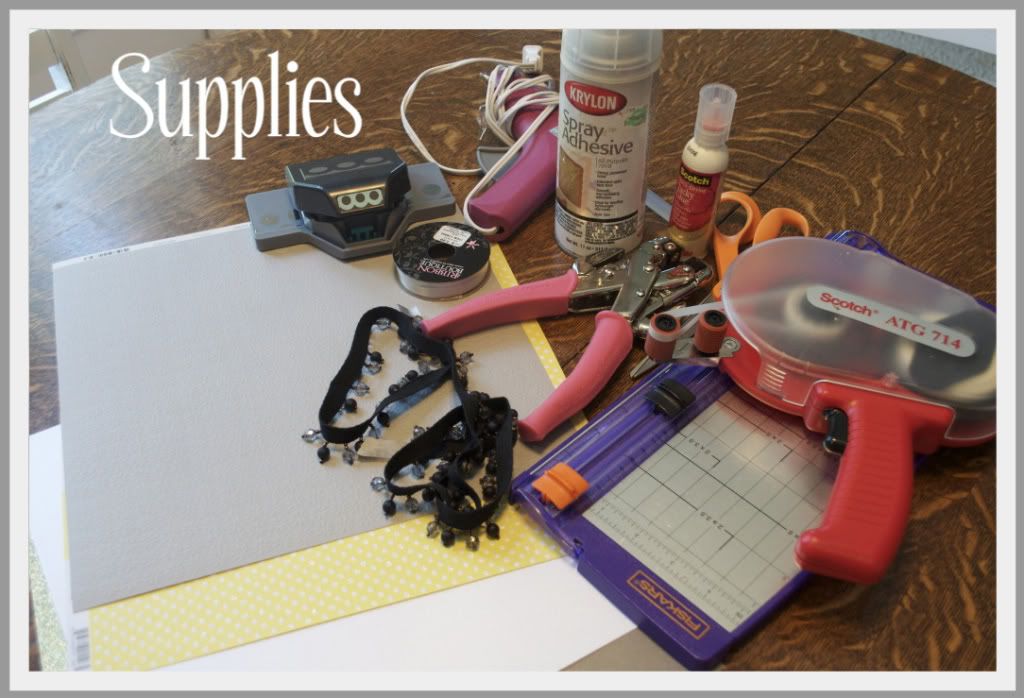
Here are the supplies you'll need:

(2) 12 x 12" sheets of patterned scrapbook paper (in coordinating colors)
(2) 12 x 12" sheets of heavy cardstock (in coordinating colors)
Any additional paper or cardstock you wish to add - get creative!
Paper Cutter
Permanent Glue or Tape Runner (I use both)
Hot Glue Gun
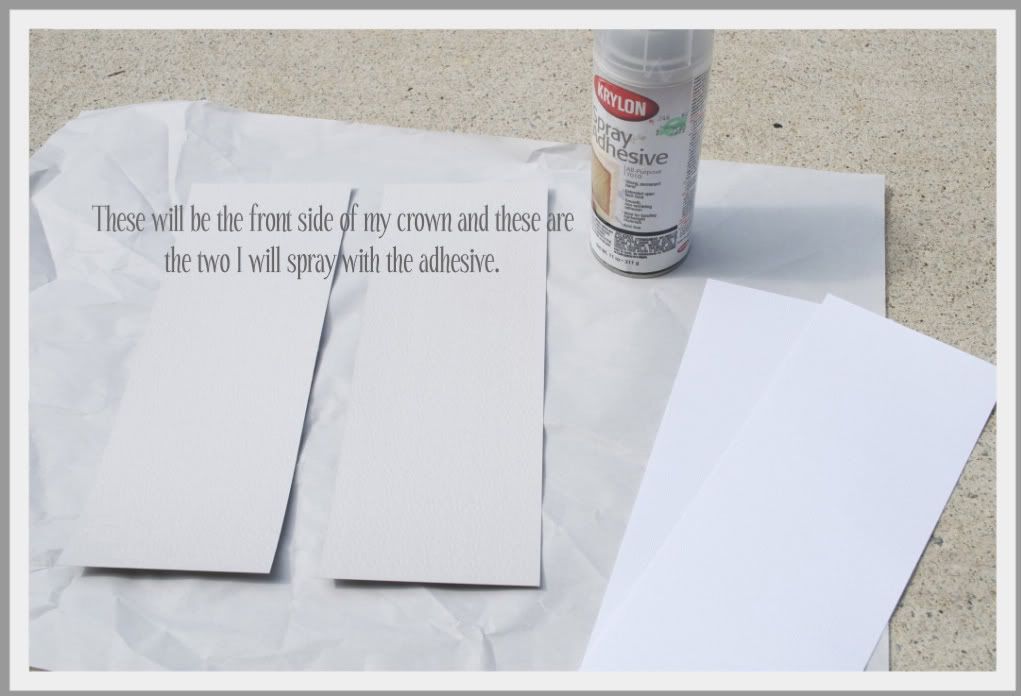
Spray Adhesive (I use Krylon)
(2) 26" cuts of Ribbon (5/8" is best)
16" of decorative trim
Decorative Punch (optional)

Step 2

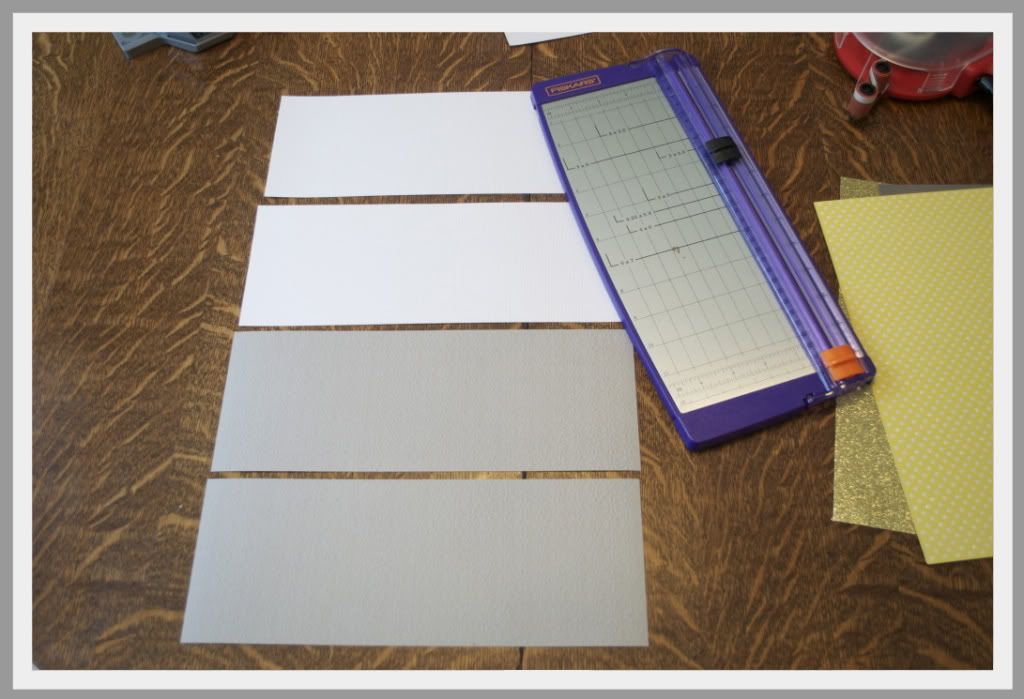
Start by cutting the four 12 x 12" sheets into four 12" x 4 1/2" pieces.  One pattern will be the front side of your crown, and the other will be the back.  Adhering the patterned paper to the cardstock will add stability to your crown.

Photobucket

Head outside, and lay out a piece of scrap paper as your work surface (this adhesive gets sticky!).  Turn your sheets over, so the back side of the paper is facing up, and spray 2 of the 4 pieces.  

Step 4

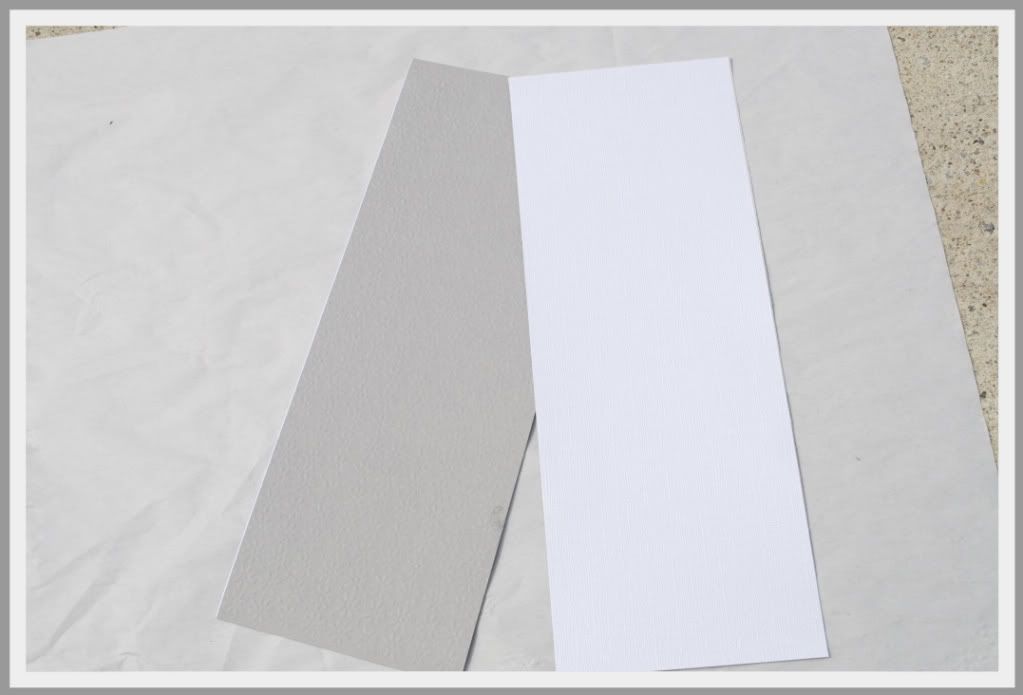
Line up the edges of one of the front and back pieces, and secure together.  Repeat with the other two pieces.  You'll end up with this.

Step 5-a

Step 5-b

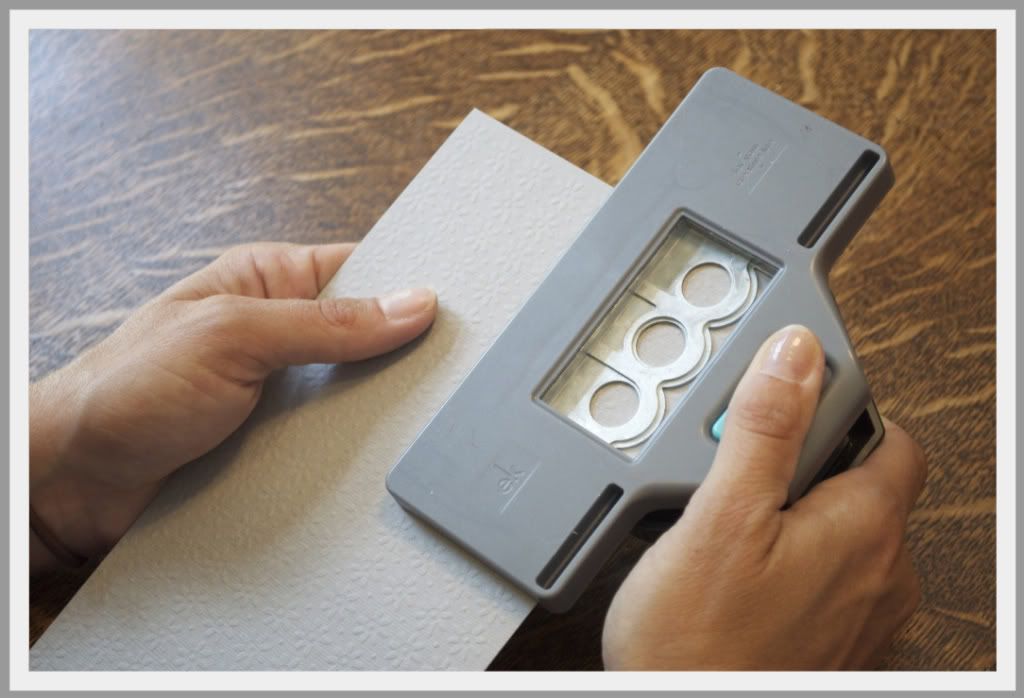
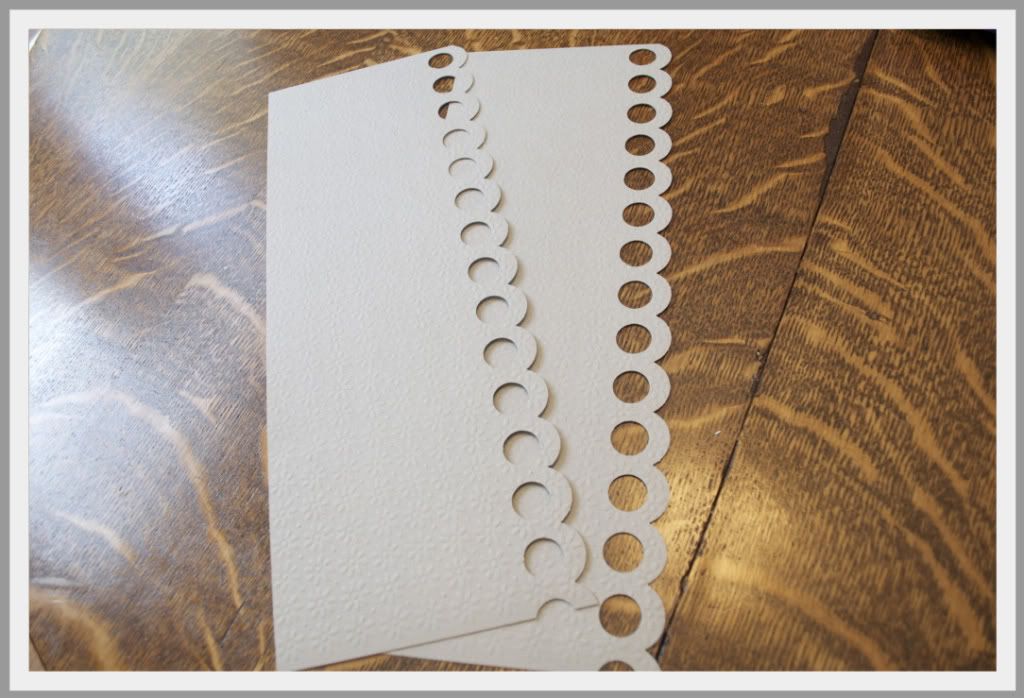
Using your decorative paper punch, punch the edges of both pieces.  (If you don't have a punch, you could trace a round object like a bowl to create a scallop and then cut that out).

Photobucket

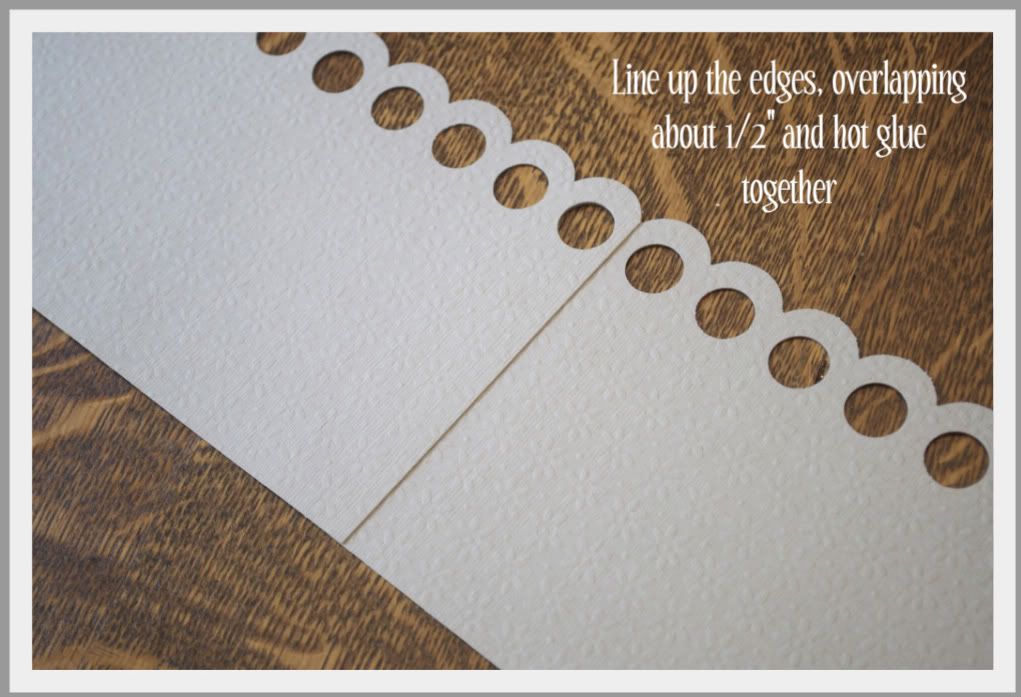
Next - you just want to make sure you even everything out to make it easier to layer.

Photobucket

Photobucket

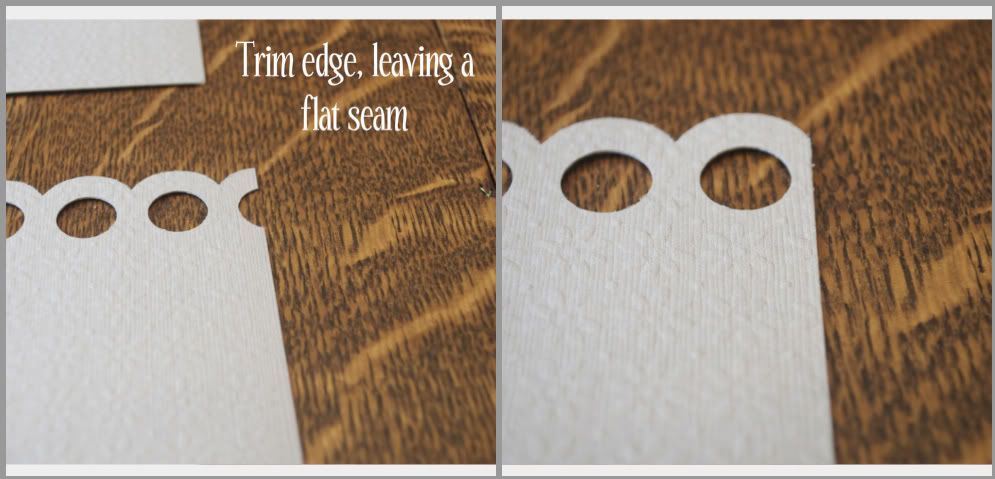
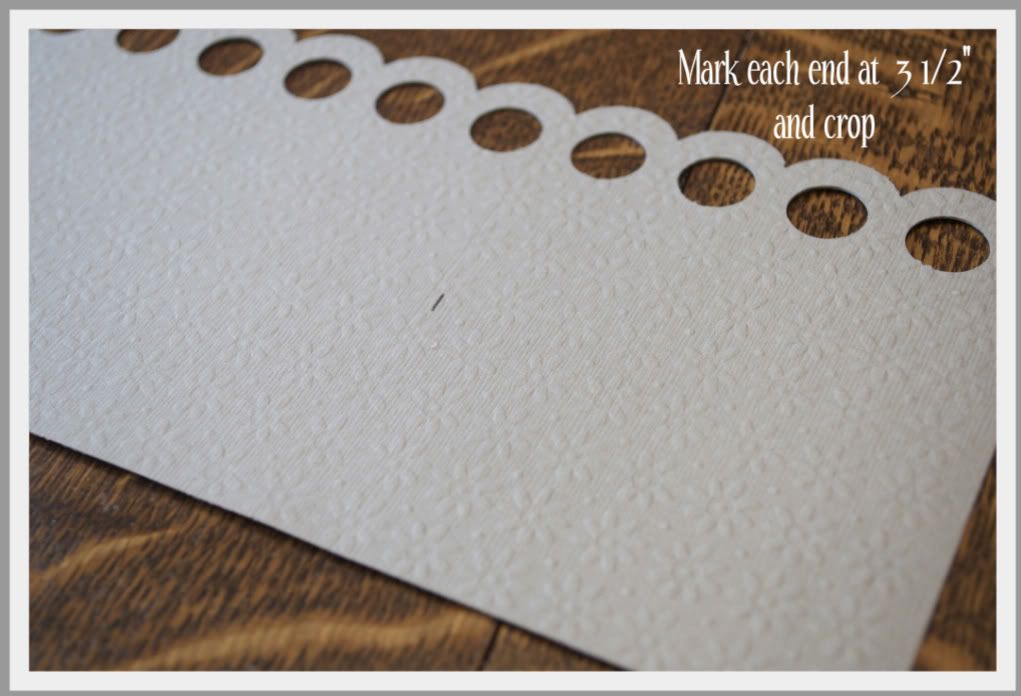
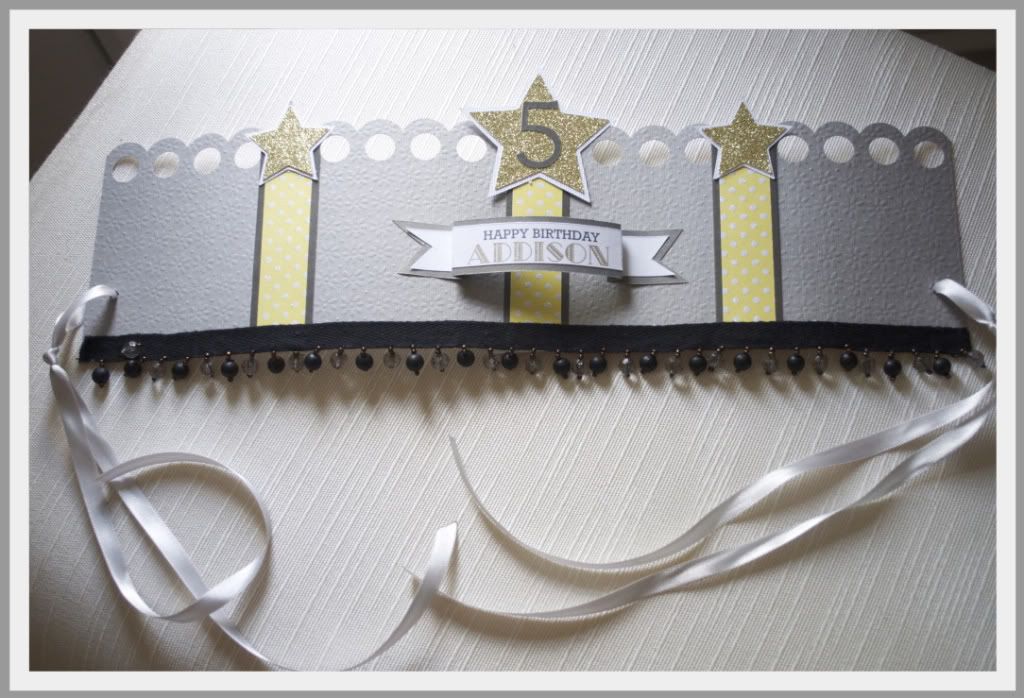
Leave the seam in the center - this will get covered later.   Your final piece will be 16" long.  This won't go all of the way around the head, you'll want about 3 1/2" left in the back to tie the ribbon.

Photobucket

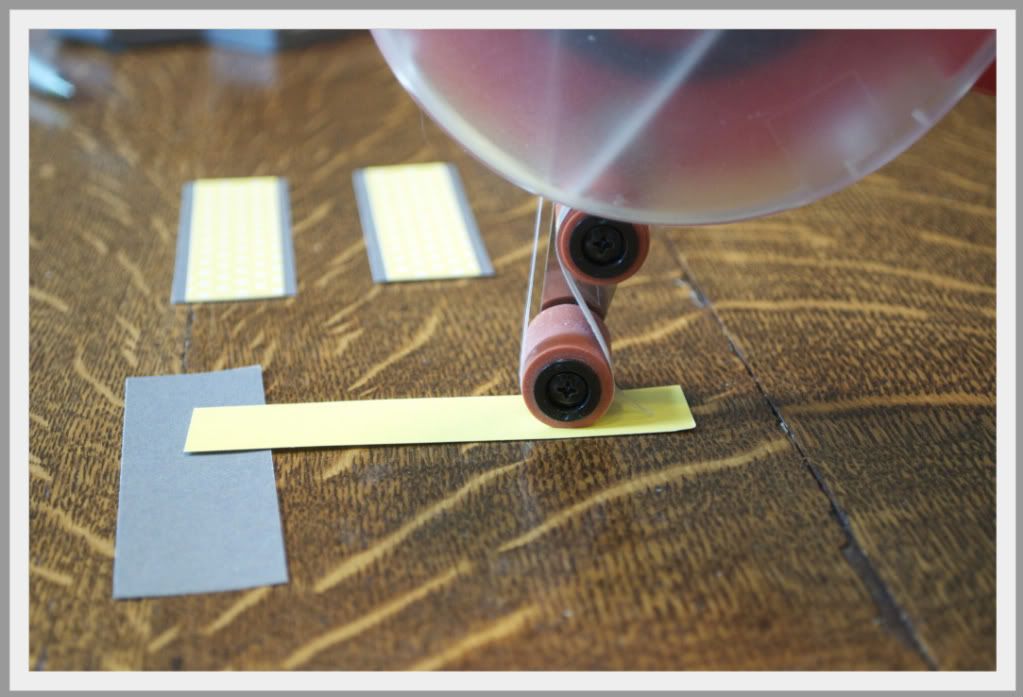
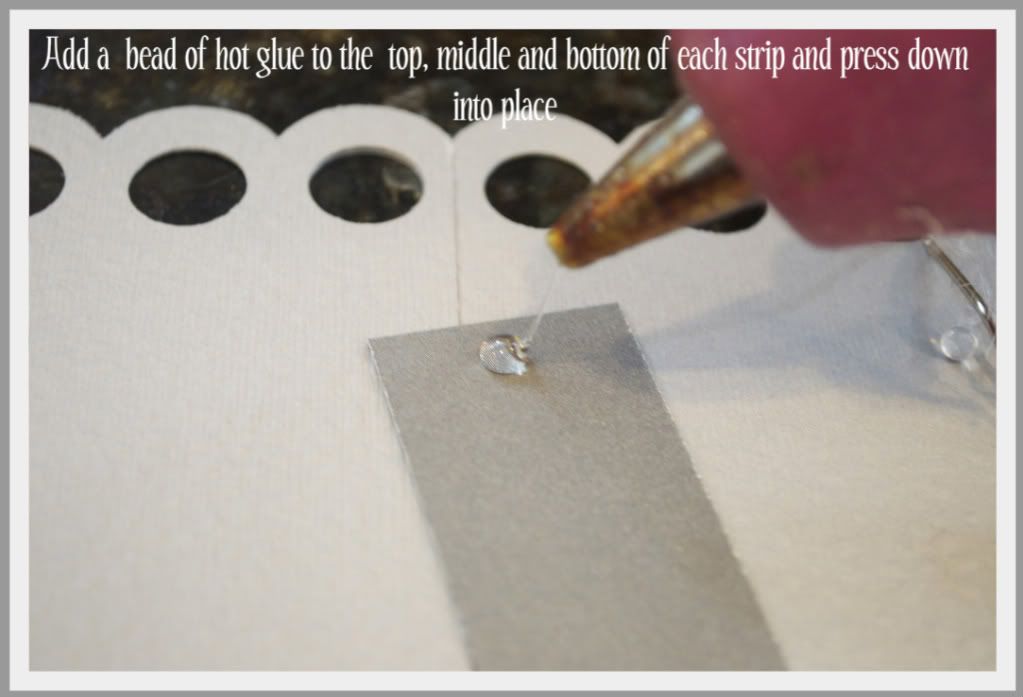
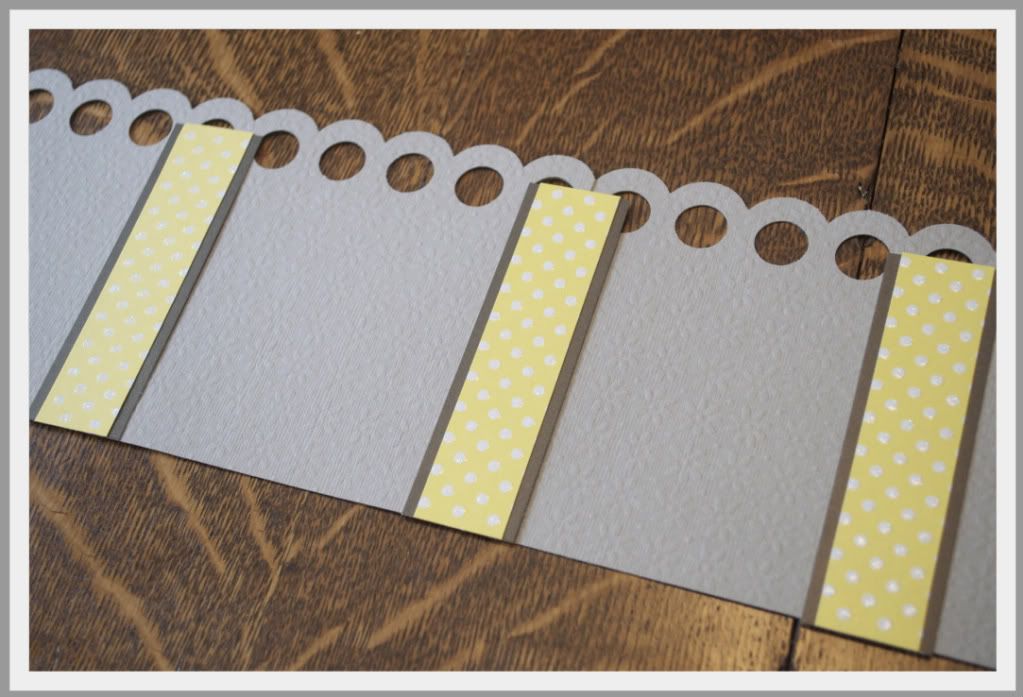
Cut three 1 1/4" x 4" strips of patterned paper, and then three more 1 1/8" x 4" strips in a different color.  Glue together, leaving about 1/8" on either side.  

Photobucket

Photobucket

Step 9-a

Step 9-b

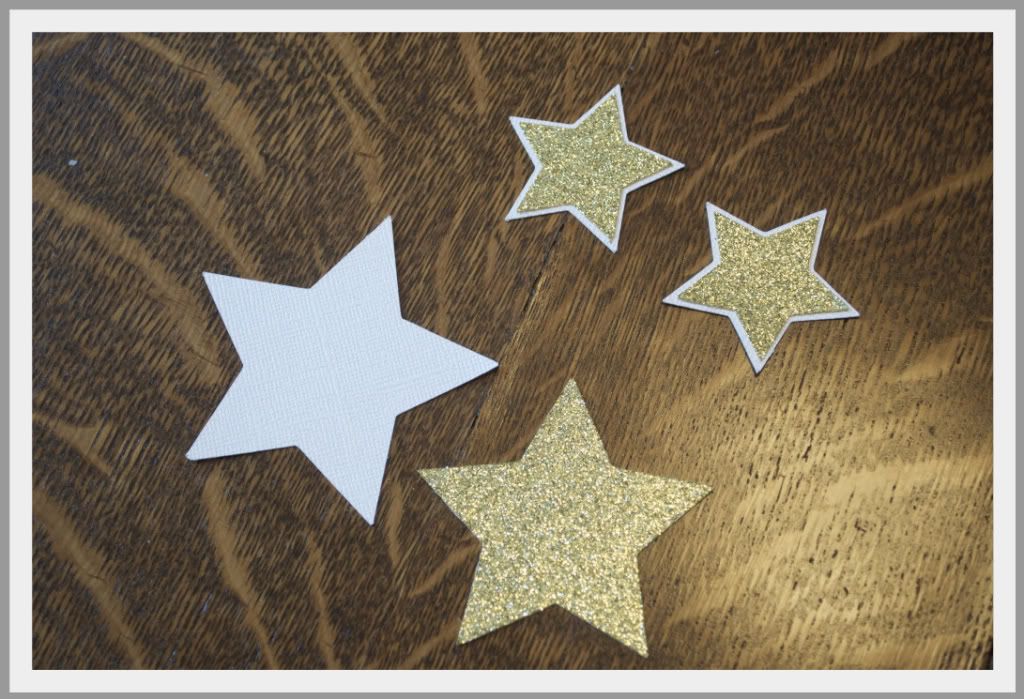
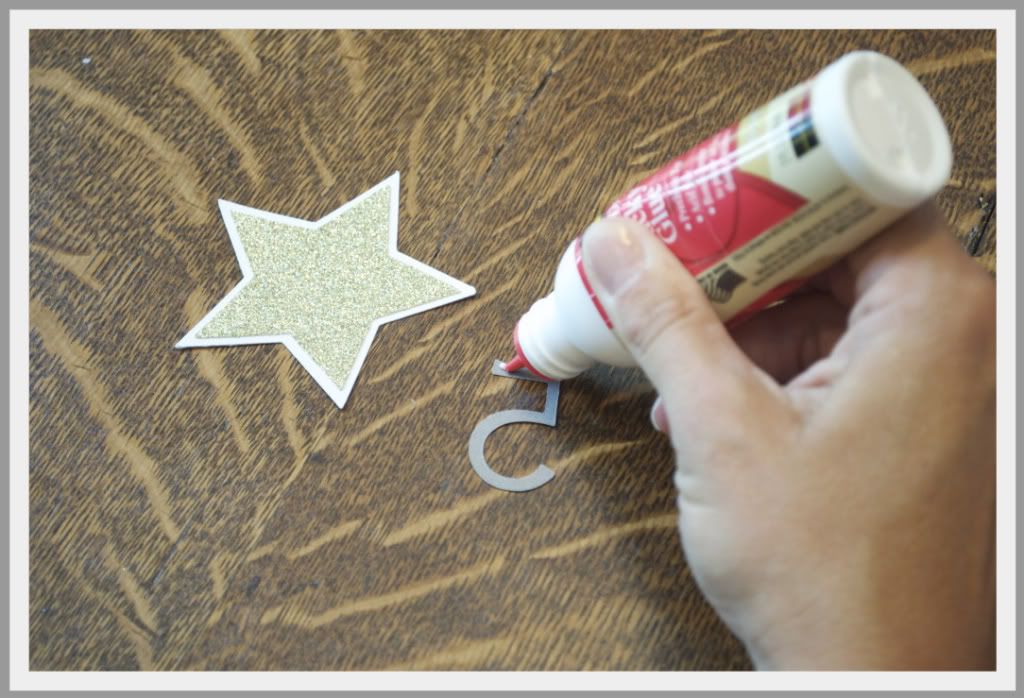
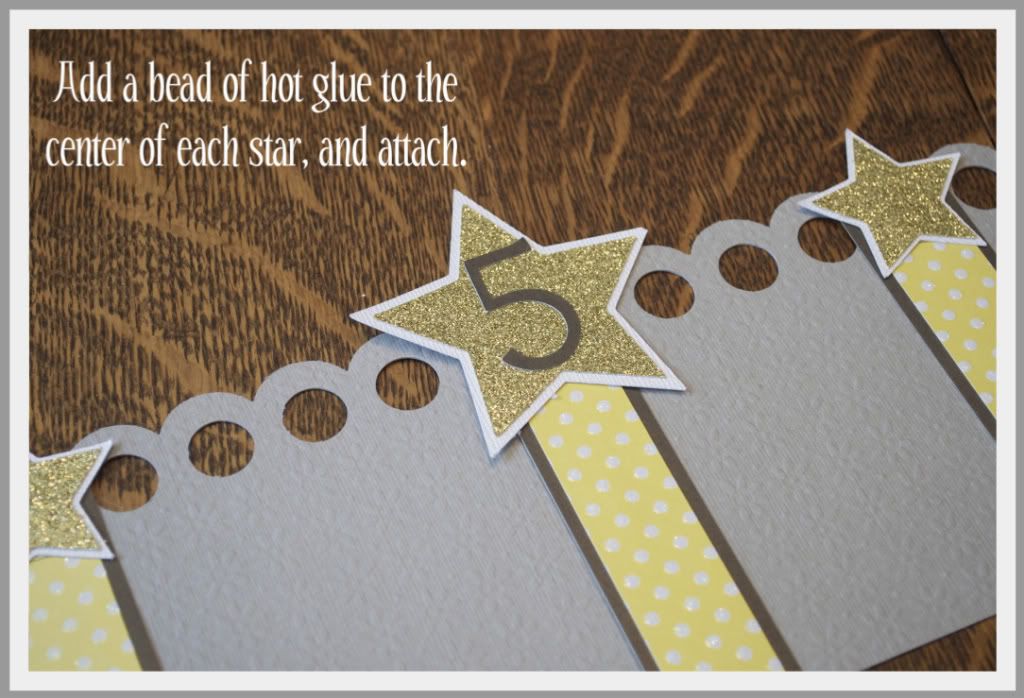
I used my cricut to cut stars and the #5, but again - you could draw or trace stars and hand cut them - or add another shape entirely - it's up to you!

 Photobucket
Step 10-a

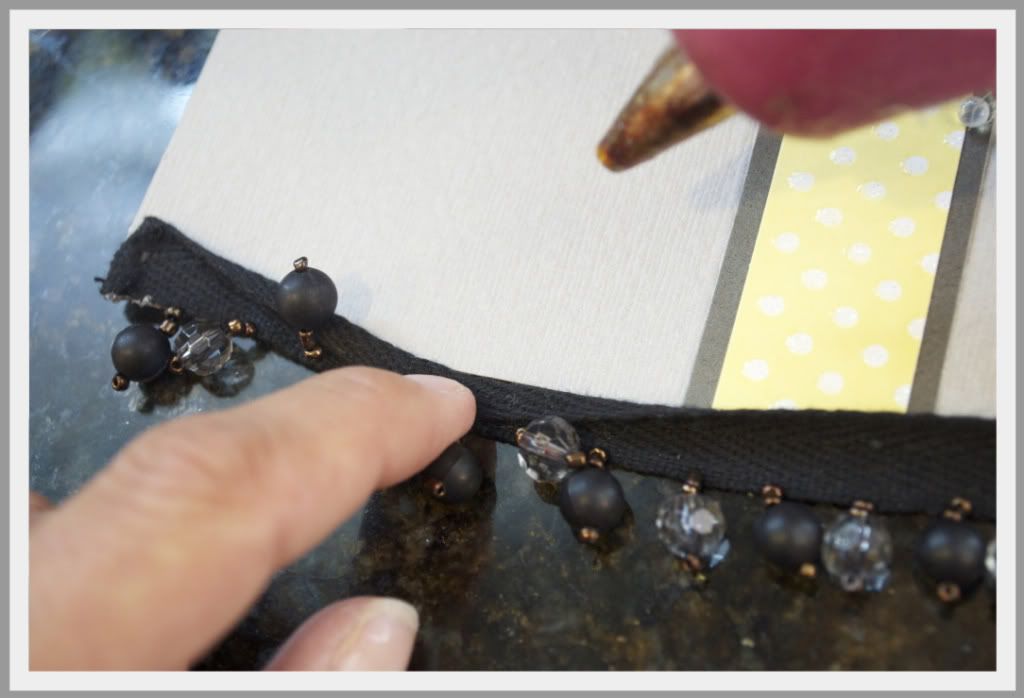
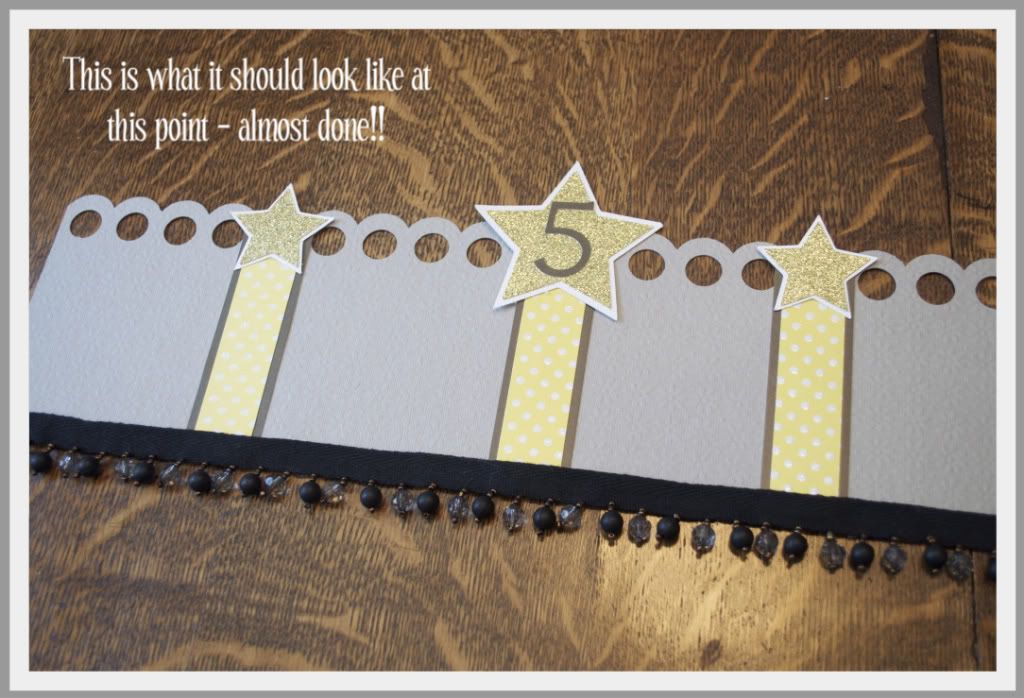
To add the trim, I hot glued each end down first, and then just peeled back the trim, adding a line of hot glue underneath.

Step 10-b

Step 11

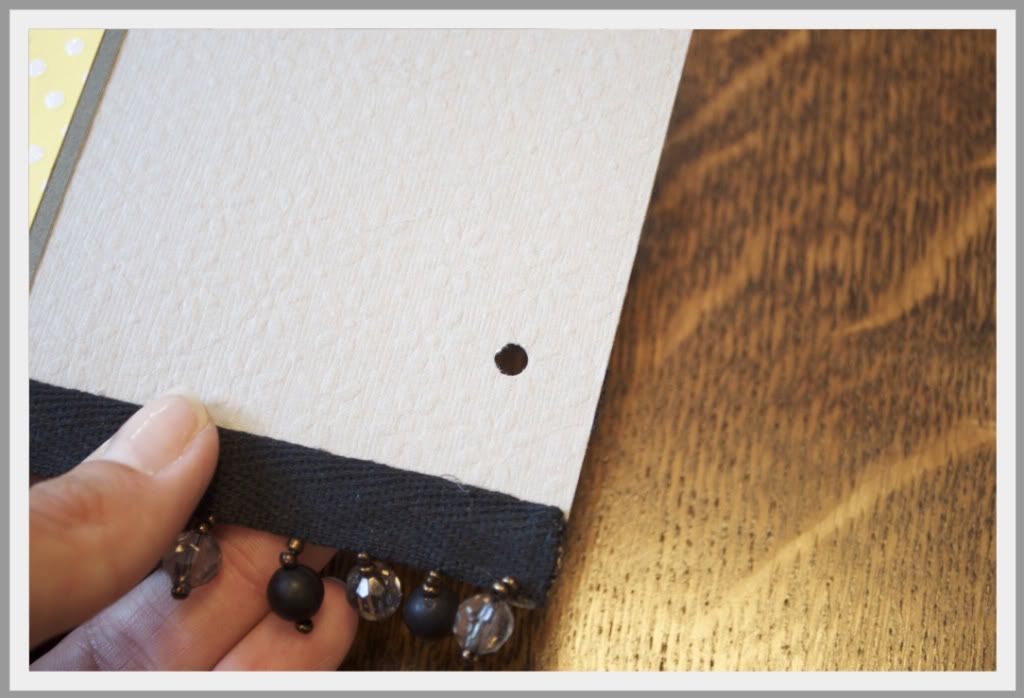
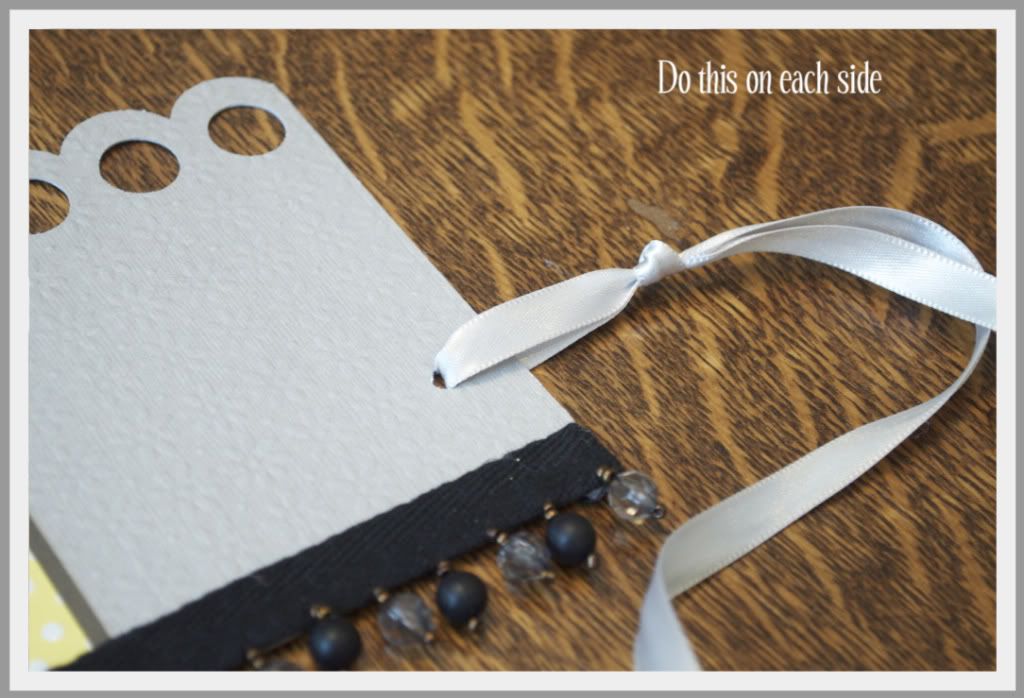
Punch a hole about 1/2" above your trim on either end.

Step 12

Feed the ribbon through and knot about 1" down from the punched hole.

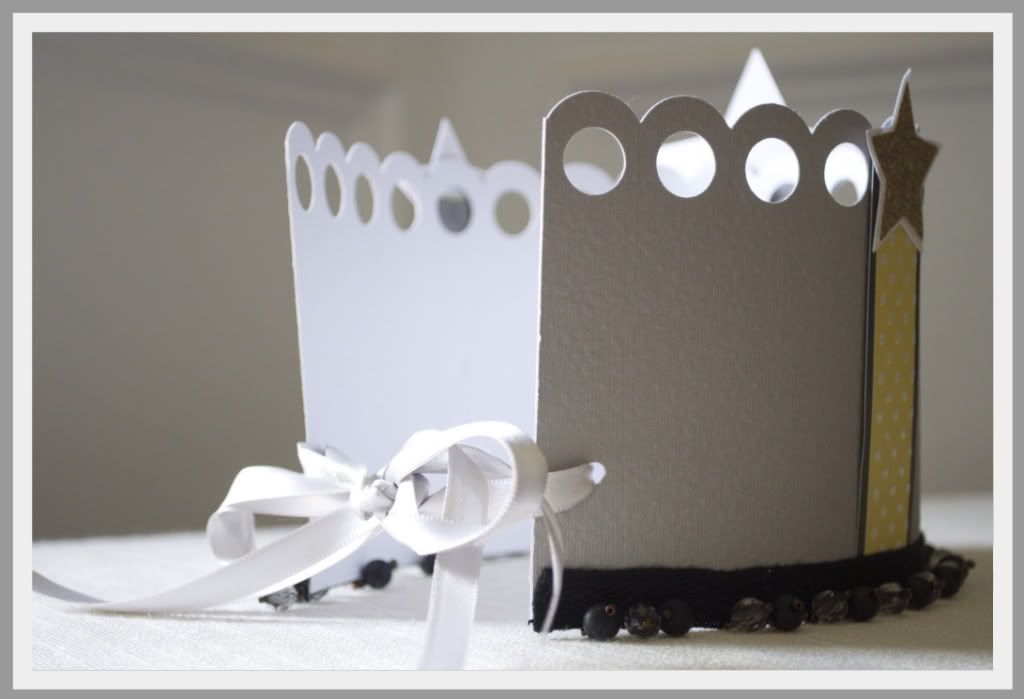
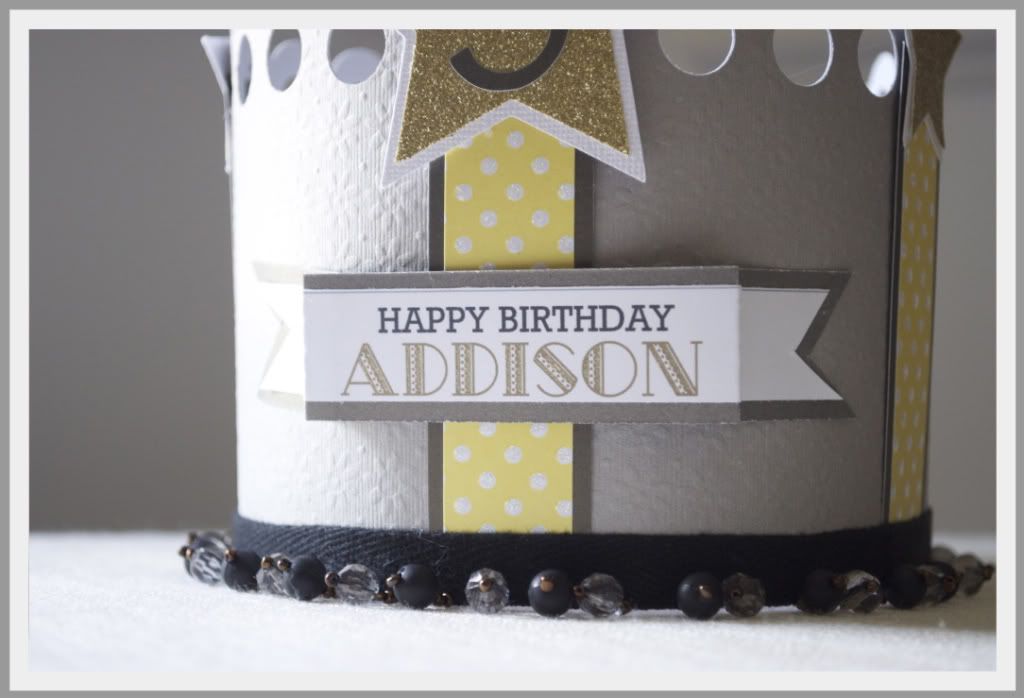
That's it - you're done!!  You can add anything else you like to the crown - I added a little banner that said "Happy Birthday Addison"!

Final 1

Final 4

Final 2

Final 3

I hope you enjoyed my tutorial!! 


Linking Up To:


Tip 
Junkie handmade projects